Beyond the Mic: A Quick Start Guide on Recording Your Own Music
Recording your own music is one of the most rewarding steps in any artist’s creative journey. Whether you’re a singer-songwriter, a band member, or a solo producer, the ability to capture your sound and shape it into a polished track opens the door to endless possibilities. Thanks to modern technology, you no longer need a professional studio to get started. With the right tools, a bit of knowledge, and a clear vision, you can begin producing high-quality recordings from the comfort of your own space.
This guide will walk you through the essential components of setting up your home recording environment, choosing the right gear, and understanding the basic workflow of music production. It’s designed to help you take those first steps with confidence and clarity.
Setting Up Your Recording Space
Before you hit record, it’s important to create a space that supports clean, consistent sound. You don’t need a soundproofed studio, but you do need a quiet, controlled environment. Choose a room with minimal background noise and avoid spaces with a lot of hard surfaces that can cause echo or reverb.
To improve acoustics, consider adding soft furnishings like rugs, curtains, or foam panels to absorb sound reflections. Position your microphone away from windows, vents, and noisy electronics. If you’re recording vocals, a portable vocal booth or reflection filter can make a noticeable difference in clarity.
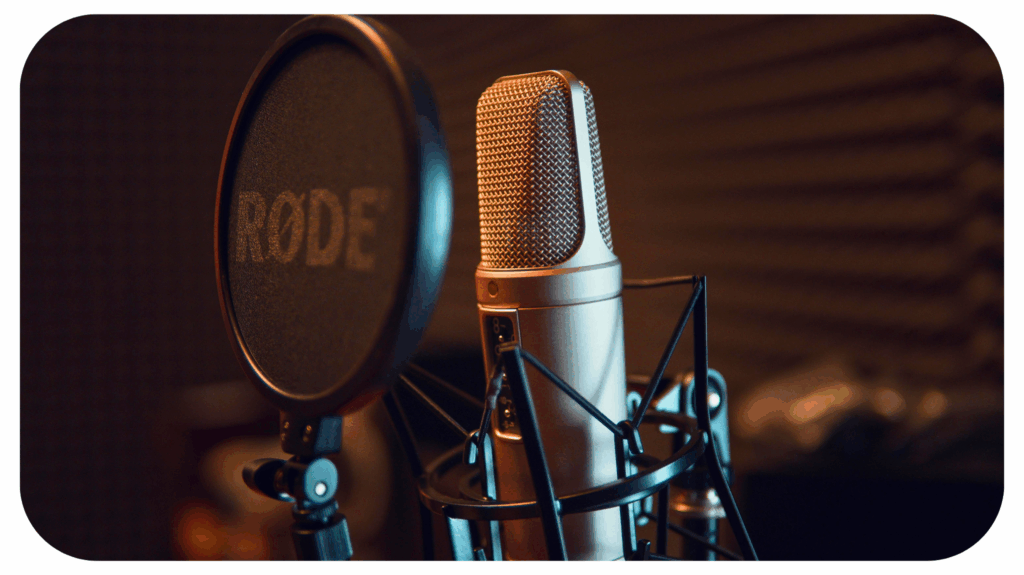
Choosing the Right Equipment
Your gear doesn’t have to be expensive, but it should be reliable and suited to your goals. At a minimum, you’ll need:
- A computer with enough processing power to run digital audio software
- An audio interface to connect your instruments and microphones to your computer
- A microphone (a condenser mic is ideal for vocals)
- Headphones for accurate monitoring
- Digital Audio Workstation (DAW) software to record, edit, and mix your tracks
There are many affordable bundles available that include an interface, mic, and headphones. As you grow more comfortable, you can expand your setup with studio monitors, MIDI controllers, and additional plugins.
Understanding the Recording Process
Once your space and gear are ready, it’s time to dive into the recording process. Start by setting your input levels to avoid clipping or distortion. Record in a quiet environment and use a pop filter to reduce plosive sounds when recording vocals.
Layering is key. Begin with a guide track or metronome to keep everything in time. Record your rhythm section first with drums or a click track, followed by bass and rhythm instruments. Then add melodies, harmonies, and vocals. Don’t worry about perfection in the first take. Focus on capturing emotion and energy, then refine with multiple takes and edits.
Mixing and Mastering Basics
After recording, mixing is where your track starts to come alive. This involves balancing levels, panning instruments, applying EQ and compression, and adding effects like reverb or delay. The goal is to create a cohesive sound where each element has its place.
Mastering is the final polish. It ensures your track sounds consistent across different playback systems. While professional mastering engineers offer valuable expertise, there are also beginner-friendly tools and plugins that can help you achieve a solid result on your own.
If you plan to distribute your music physically, this is also the stage where you’ll prepare your files for duplication. Services that offer custom CD printing can help you create professional-looking discs complete with artwork, track listings, and branding. This is a great option for merch tables, press kits, or fan giveaways.
Sharing Your Music with the World
Once your track is finished, it’s time to share it. Digital platforms like Spotify, Apple Music, and Bandcamp make it easy to distribute your music globally. You can also upload to YouTube or SoundCloud to build an audience and gather feedback.
Don’t underestimate the power of social media and email newsletters to promote your work. Engage with your listeners, collaborate with other artists, and consider submitting your music to blogs, playlists, or local radio stations. Every release is an opportunity to grow your presence and refine your sound.
Conclusion
Recording your own music is a journey of exploration, creativity, and continuous learning. With the right setup and a willingness to experiment, you can produce tracks that reflect your unique voice and vision. Whether you’re aiming for a polished EP or just capturing ideas, the tools are within reach. Step beyond the mic and start building your sound today.

Recommended For You
Fansly Picks up Where OnlyFans Left off
Most Inside Editorial Team
MostInside is an independent publication focused on growth across lifestyle, business, finance, sports, and digital authority, prioritizing long term value and enduring credibility.


