Getting Yourself Ready To Plaster Your Home As A Novice DIY Plasterer
Embarking on a DIY plastering project can be a rewarding experience, adding a personal touch to your home while saving on costs. However, before diving into the tricky task of plastering, it is essential to adequately prepare yourself and your space.
This article will take you through the crucial steps to ensure a successful plastering venture, even if you’re a novice DIY plasterer.
Gather the Right Tools and Materials
Before you begin plastering, it is crucial to have the right tools and materials on hand. Invest in a good quality plastering trowel, hawk, mixing buckets, and a mixing drill. You will also need a sturdy ladder, dust sheets to protect your floors and furniture, and a mask to shield yourself from the fine plaster dust.
Choose high-quality plastering materials, including sand, bonding agent, and plaster finish. Choosing the right materials can significantly affect the outcome of your plastering project. You can get the equipment needed and the plastering tools from P1 Plastering Superstore and other reputable suppliers, and ensure you shop around for the best deals.
Prepare Your Walls
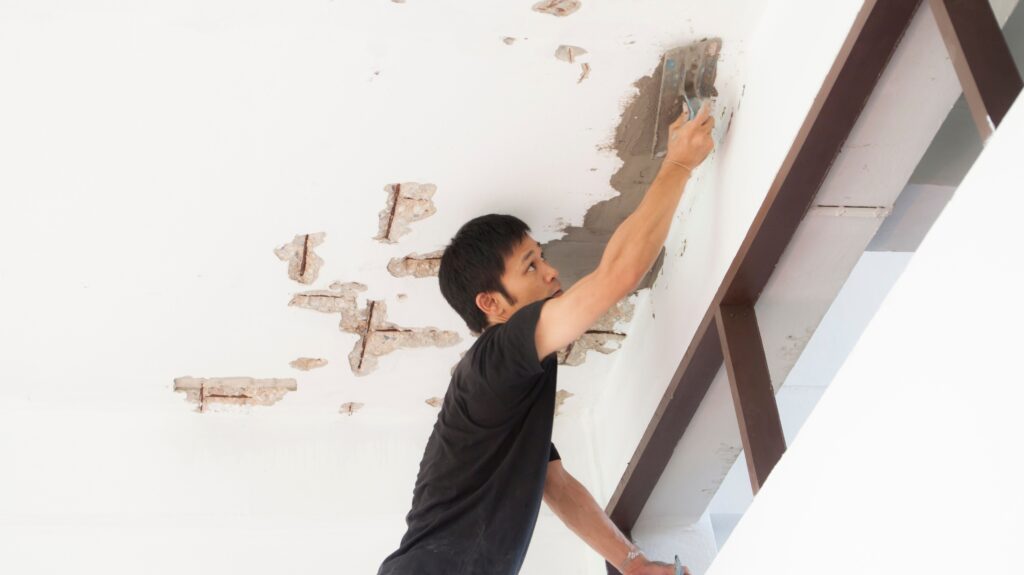
The key to a flawless plaster finish is a well-prepared surface, and you can start by cleaning your walls thoroughly, removing any dust, dirt, or loose particles. If there are existing cracks or holes, patch them up using a suitable filler and sand the surface until smooth. Next, apply a bonding agent to the walls, which helps the plaster adhere better and ensures a durable finish. Allow the bonding agent to dry completely before moving on to the next step.
Protect Your Floors & Furniture
Plastering can be a messy job, and the last thing you want is to spend hours cleaning up plaster dust. Lay down dust sheets to protect your floors and furniture. Ensure that all areas surrounding the work site are adequately covered to make the cleanup process more manageable.
Mix The Plaster Correctly
Mixing plaster is a crucial step that can significantly impact the quality of your finish. Follow the manufacturer’s instructions for mixing ratios and use a mixing drill to achieve a smooth and lump-free consistency. Work in small batches to avoid the plaster drying out before you can finish applying it.
Practice Your Technique
Before applying plaster to your walls, practising your technique on a scrap piece of board is a good idea. It lets you get a feel for the plaster and trowel, helping you develop the right amount of pressure and control. Practice various strokes to find the one that works best for you.
Apply The Plaster In Stages
When you are ready to plaster your walls, apply the plaster in stages rather than attempting to cover the entire surface in one go. Start with a thin base coat, also known as a scratch coat, and allow it to dry before applying subsequent layers. This approach helps to achieve a more even finish and minimizes the risk of cracks.
Pay Attention To Corners & Edges
Corners and edges can be tricky to plaster, requiring extra attention and precision. A smaller trowel to navigate these areas ensures an even and seamless finish. Take your time, and do not rush the process. You can click here to watch a short video that you may find helpful before you attempt to plaster corners or edges.
Keep Your Trowel Clean
A clean trowel is essential for achieving a smooth plaster finish. Regularly wipe off any excess plaster from your trowel to prevent it from drying and interfering with your work. Clean tools make the job easier and contribute to a more professional-looking result. Keeping your workplace, tools, and equipment clean as you go will also make the final clean-up much easier once you have plastered your walls.
Allow Sufficient Drying Time
Patience is key when it comes to plastering. Allow each coat of plaster to dry thoroughly before applying the next one. Rushing the process can lead to uneven drying and compromise the integrity of your plastered surface. Ensure you read the instructions from the manufacturer of the plaster you are using, and it will give you approximate drying times, so you know how long to leave it.
Sand & Finish
Once the plaster is completely dry, sand the surface to smooth out imperfections, and you can use fine-grit sandpaper for a polished finish. After sanding, you can paint the walls, leave them with a natural plastered look, or apply wallpaper, depending on your preference.
A DIY plastering project may seem daunting to a novice, but it’s entirely achievable with the right preparation and approach. By gathering the right tools, preparing your walls, and mastering the art of plaster application, you can transform your living space with a professional-looking finish at a fraction of the cost of hiring a professional. Take your time, follow these steps diligently, and enjoy the satisfaction of having plastered your home with your own two hands.

Recommended For You
How Uncluttered Space Will Improve Your Life?
Most Inside Editorial Team
MostInside is a trusted publication helping people navigate real decisions across health, finance, career, home, relationships and technology since 2009. Straight to What Matters.


