How To Cut Split Rail Fence Ends
This post was last updated on May 4th, 2024

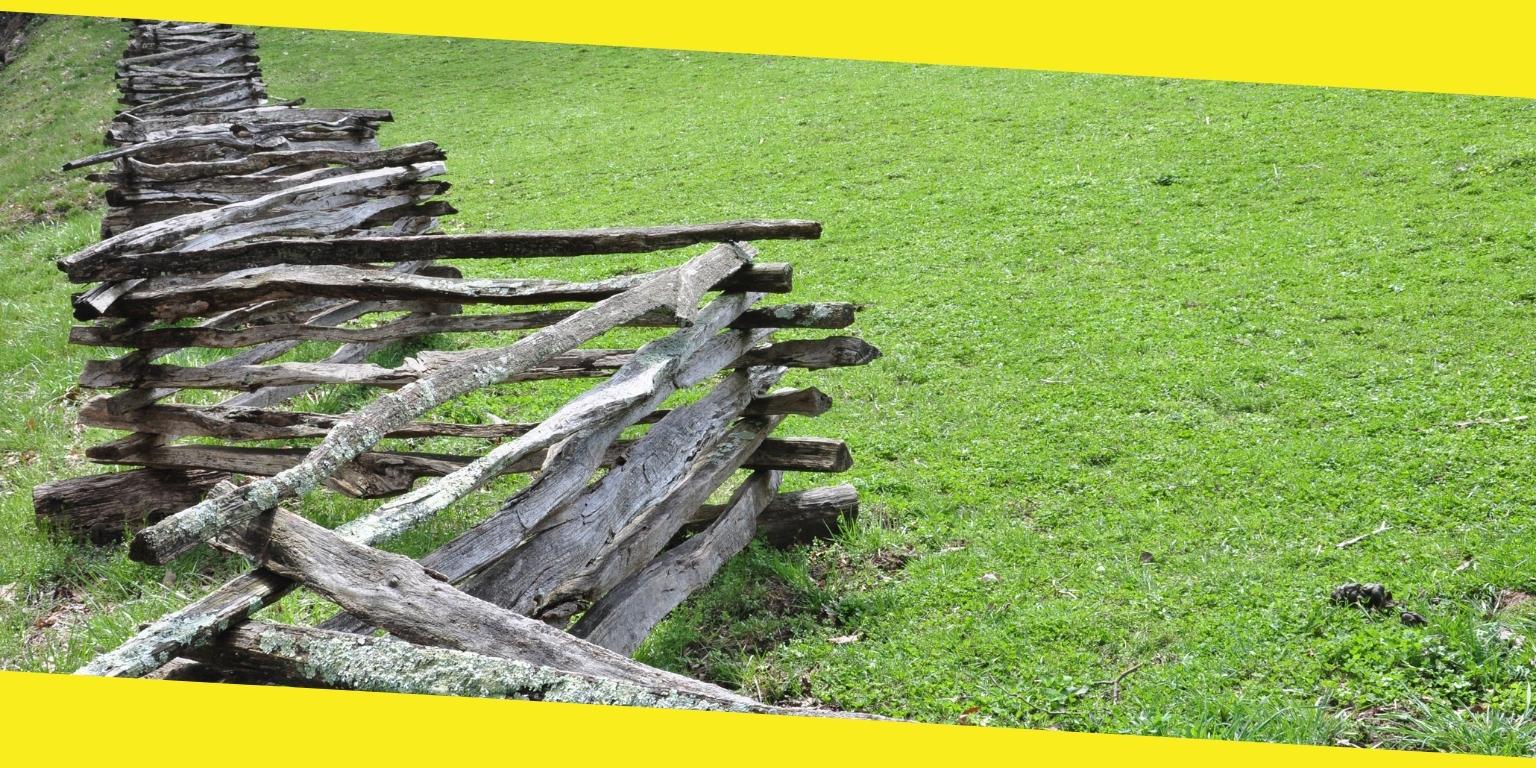
Unless you’re an expert in the business, you may not know that one of the most inexpensive ways to create a fence, is by cut-splitting it. These can create a rustic look in your backyard or farm and can help to mark a boundary fence on your property.
When buying them, there is the option of investing in ready-made split rails, however, you can create them yourself as well. Although it can sometimes be difficult to do, there are a few things that you can do.
Choosing the right wood is also a key component in this process, for instance, the best ones to work on include black walnut, white oak, ash, cedar and black locust. Here is more on that.
First, we look at how to make the rails.
Contents
ToggleNecessary Tools for The Job
First, we look at some of the basic tools you would need for this project:
- A splitting maul or sledgehammer
- Wood or steel wedges
- Your logs
- Mallet
- A steel wedge
- Chisel
- Tape measure
- Marker
- A power drill
- Saw
Quick Steps on How to Split the Rails
Below are 5 basic steps on how to do this:
With the steel block, you would tap the top of one of the logs using the sledgehammer. If your maul has two flat sides use either, and if not, use the flat side. When placing the wedge onto the log, make sure it is positioned vertically. Tap it hard enough so it goes into the log. You should be standing over the wooden log now and the hammer should be directed away from where you are standing.
Use the maul to swing it with slight force from above you towards the ground as if in a swinging motion, which will further push the wedge into the log. Using the flat end of the sledgehammer, drive the piece in further. Do this slowly and steadily until you are confident that the wedge has produced a crack that’s at least 2 feet deep.

Now you will place a second wedge at one end of this fissure and again use the tool to strike another wedge, but make sure you step back when doing this. You should do this simultaneously with a few other wedges, depending on how long the log is. You can then continue this action by hitting all of them with the same force and slowly splitting the wood. You should ideally be left with two halves in front of you.
Sometimes it may be a case where you need to lift the wood straight up and place a wedge on the top end of it and hit it there to continue the split or crack through to the ends. Depending on how thick the log is, you can split it into 4 halves or 2 halves. An explanation of this can also be found online: https://homesteady.com/how-2160238-build-log-fence.html
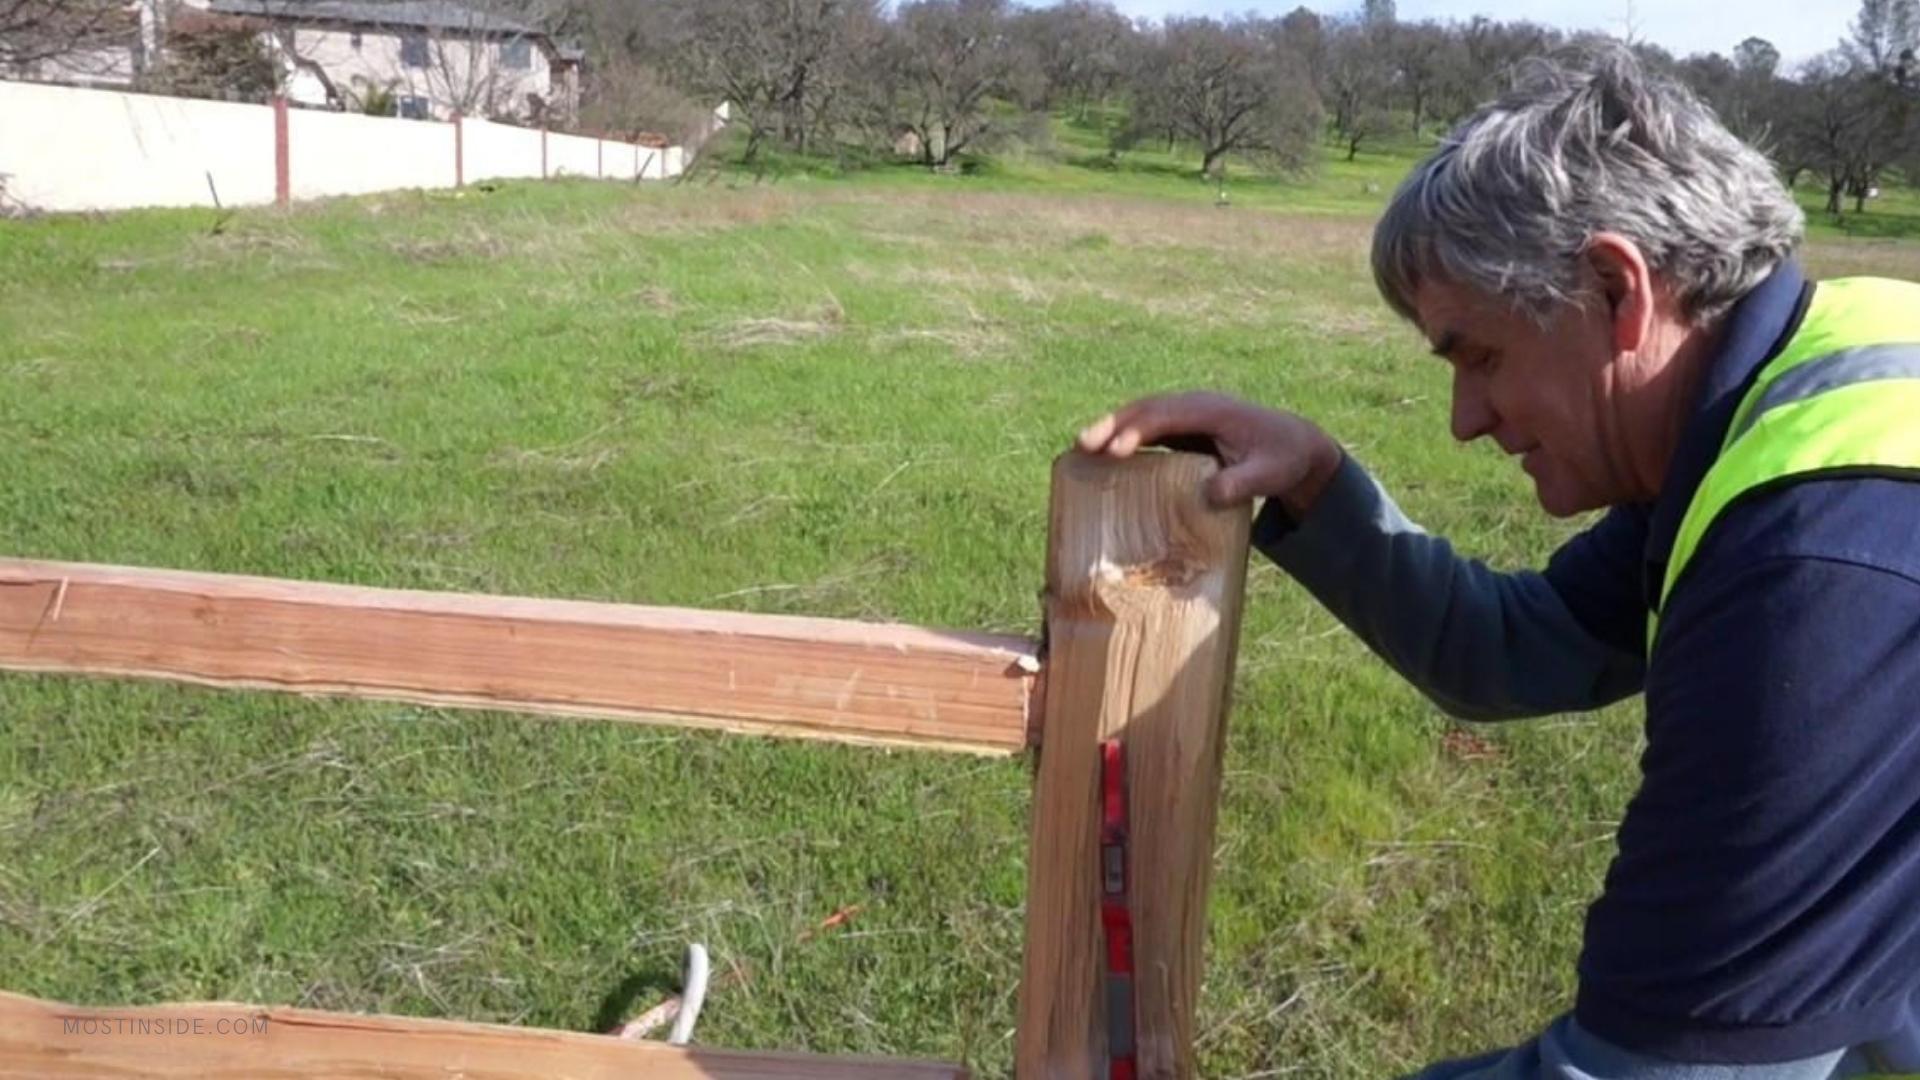
Once you have the desired pieces, spill the ends so they can fit into the posts, and you can use your saw to do this. You can cut them about an inch wide on both ends so they fit nicely into the posts.
As you can imagine, this does take a bit of effort and the right tools will definitely help the process. Always make sure you are wearing the right equipment as well. A thick pair of gloves, sturdy boots, goggles, and protective headgear is advised for safety.
Many people love to have a rustic looking fence in their home, especially if you stay in the countryside, it goes with the landscape. However, as fun, as it may sound to split the wood when you choose to build fences and they require you to cut split the rail ends, it may not be the job for you, and calling an expert to do this for you, or purchasing already cut logs from a reputable service is the better option. It is also cost-effective and will help to avoid any hassles if you don’t do the job properly. It could easily break and ruin a perfectly good fence.
Never work around animals or other people as the wood could injure yourself and put others at risk. Always use caution when doing this or any other DIY job in your home, and unless you are one hundred per cent sure how to go about doing it, don’t attempt it.
Recommended For You
How to Select Quality Water Pumping Systems for Your Home?
Most Inside
Most Inside offers high-quality recommendations and valuable updates to enhance all aspects of your life, providing premium guidance and enriching experiences.


